Kuda
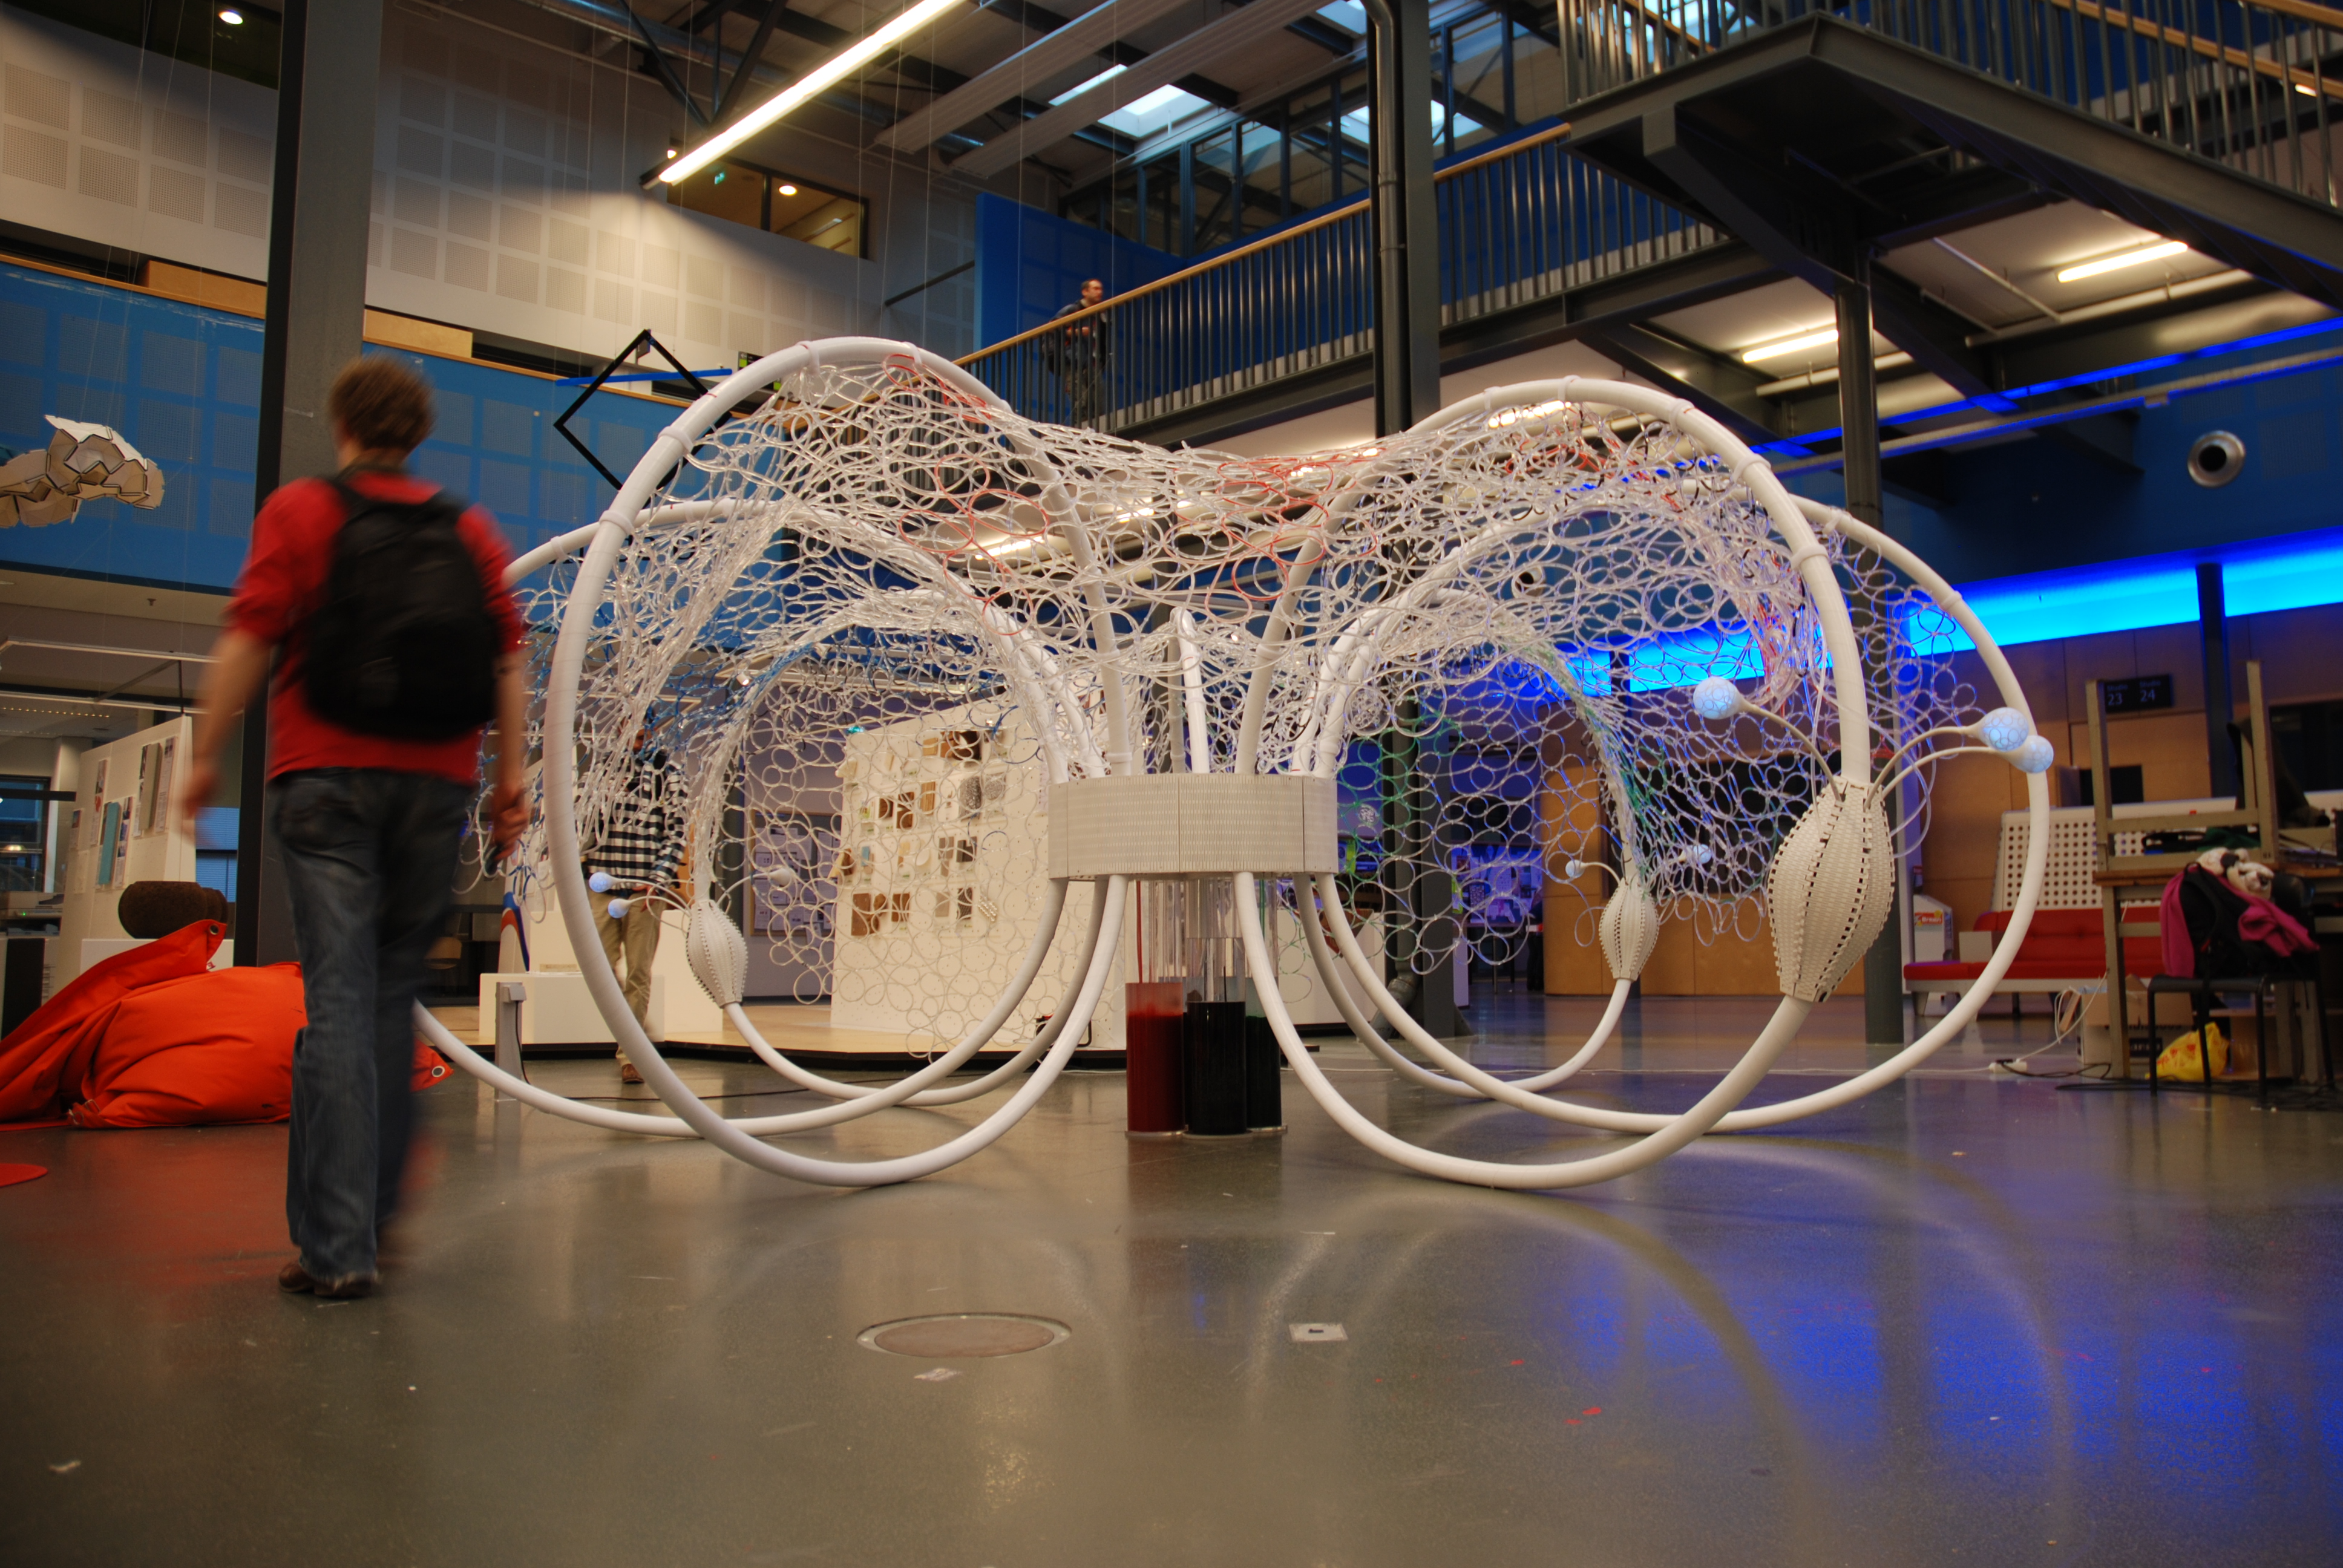
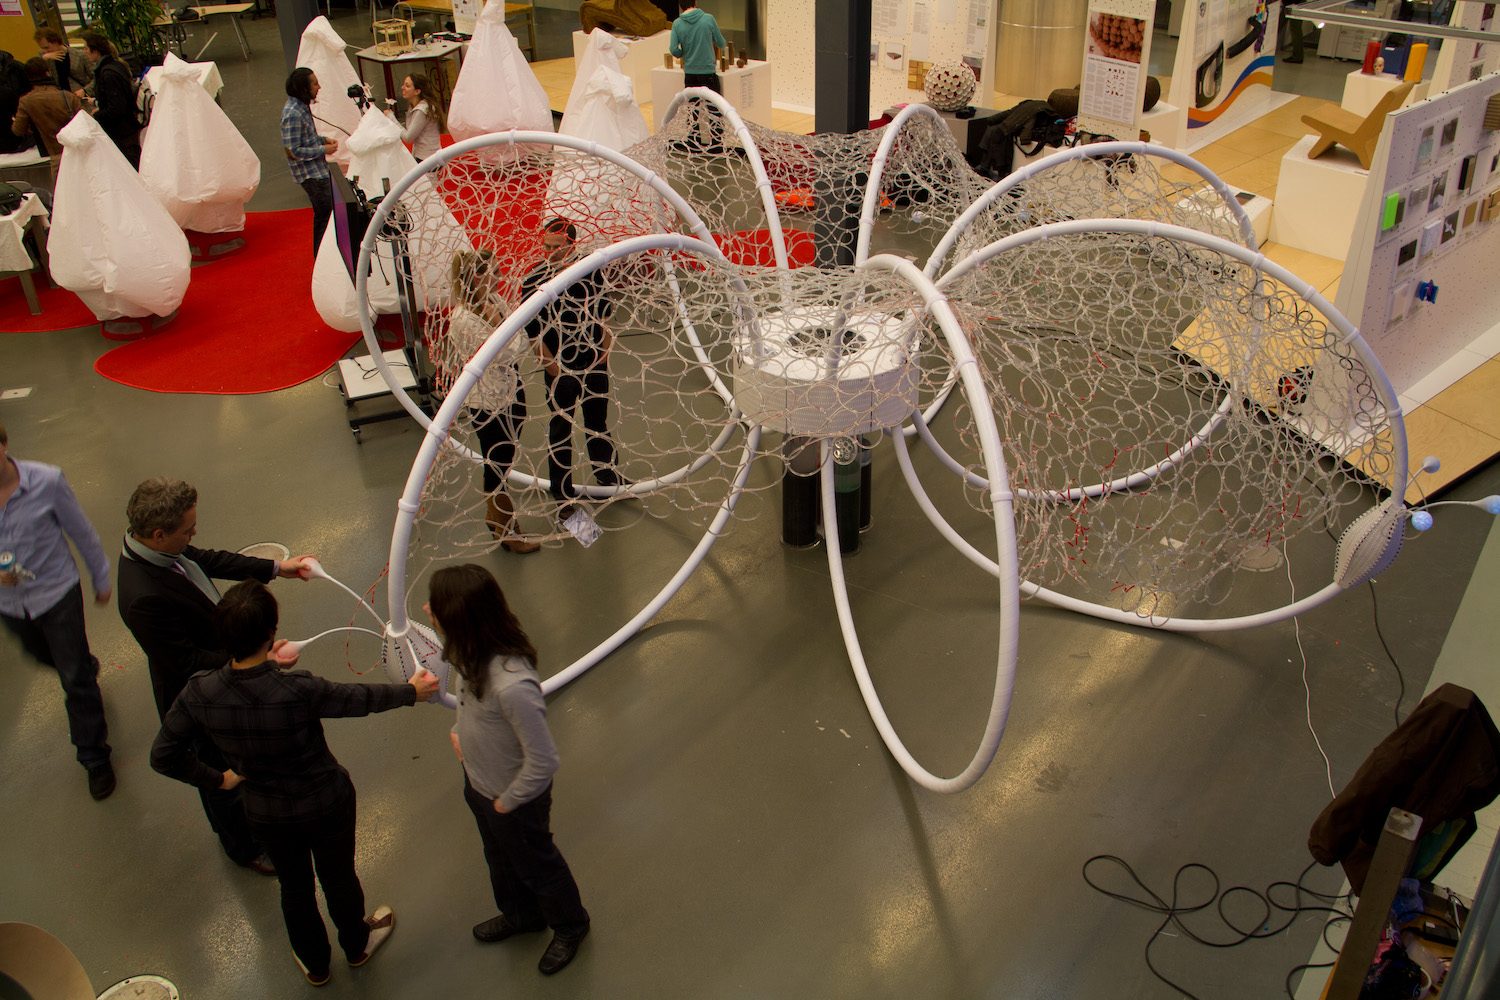
Kuda is an interactive architectural environment consisting of over a kilometer of clear tubing through which colorful liquids flow. On the sides of the installation glowing orbs react to touching or closely hovering over the orbs. In this way users enable colored liquid patterns to flow through the environment for an extended period of time until they fade and return into the reservoir they came from.
Kuda thrives on interaction. When interacted with, it colors up and generates unique lively environments; the colors and movements in the installation change constantly based on the liquid color patterns launched by the users. When no one is interacting with the installation, the tubing will look empty and kuda will try to catch attention by launching black liquid patterns on its own – only user interaction can launch the colored patterns.
Students: Benjamin Caljouw, Jay Didderen, Oswaldo Heinen, Bouwe Planque, Sabrina Verhage, Jonalt Vervloet, Kees Verweij, Jip Warendorf, Anntje Wong.
Coaches: Aadjan van der Helm, Joost Broekens, Walter Aprile, Chris Kievid.
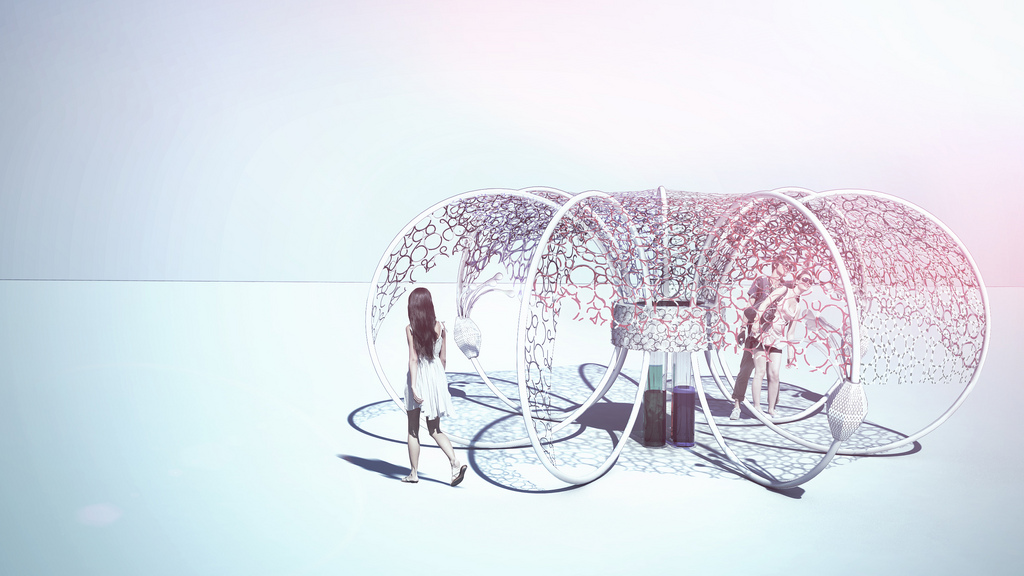
We rendered our installation and our installation will render you awestruck.
Making an interactive installation can sometimes be a lonely experience.
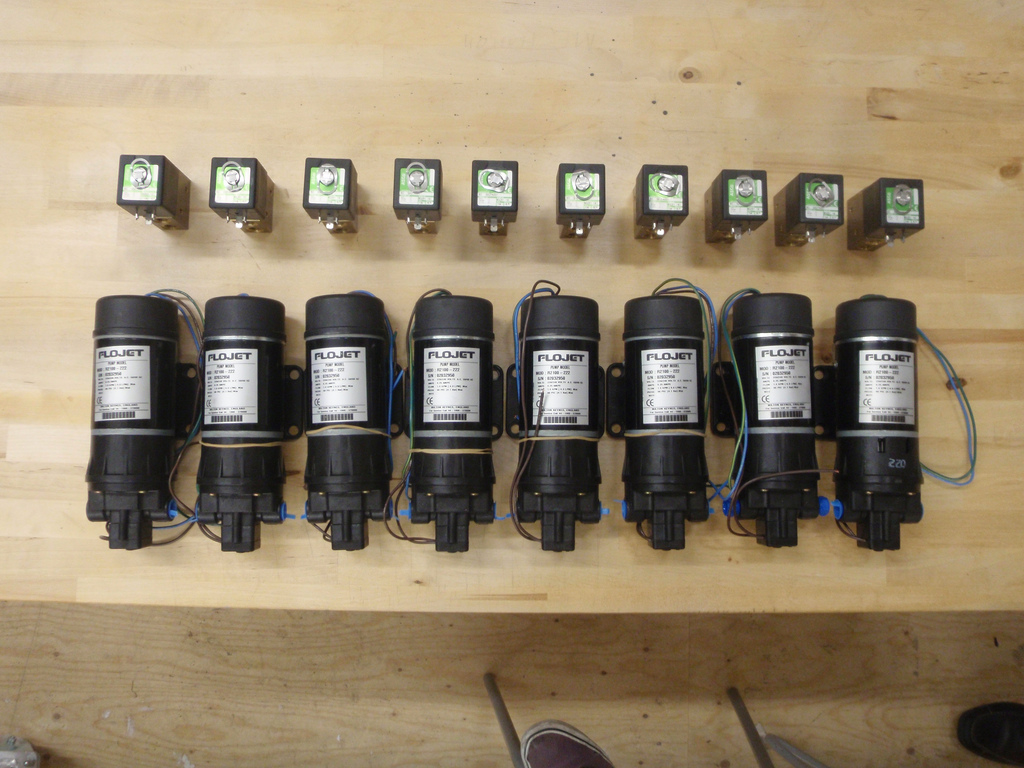
Pump it real good. The heart of our installation; eight pumps and a whole bunch of valves. This small fortune was donate to us by PB Techniek and is, mechanically speaking, the core of our installation. Each of the four fluid circuits is fitted with two pumps (one for oil, one for coloured water).
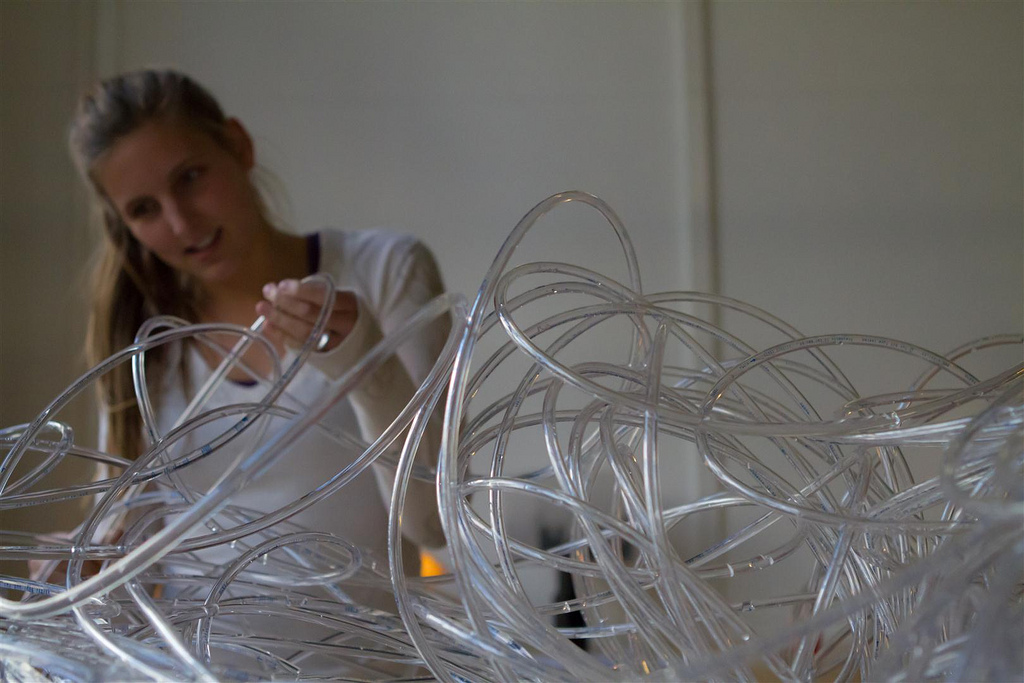
The coloured water flows through meters and meters of clear tubing material.
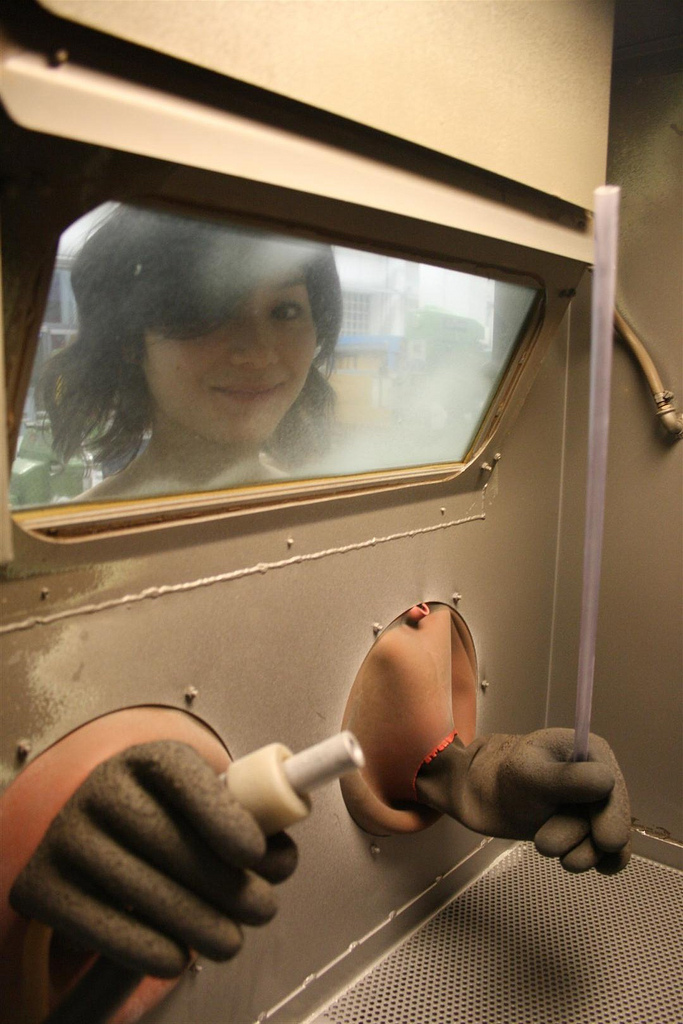
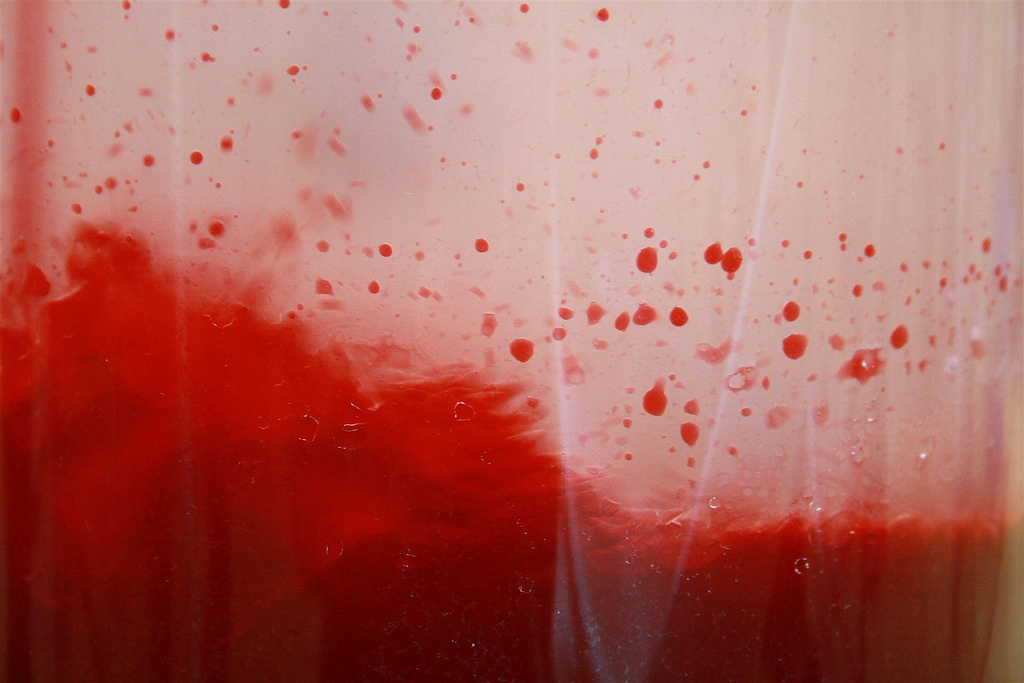
The sensor nodes for interaction are attached to bent clear pvc pipes, which in turn are attached to the cocoons on the white rings. To give these pipes a soft white translucent look, we sandblasted them in this cabin. This treatment uses sand crystals gushing under high air pressure to modify the surface of the material. We quickly found out that round objects aren’t suitable for this treatment, so as an alternative we lightly spray painted them white which still gave us a result to our satisfaction. The sandblasting experience did leave us this nice spacey astronaut picture!
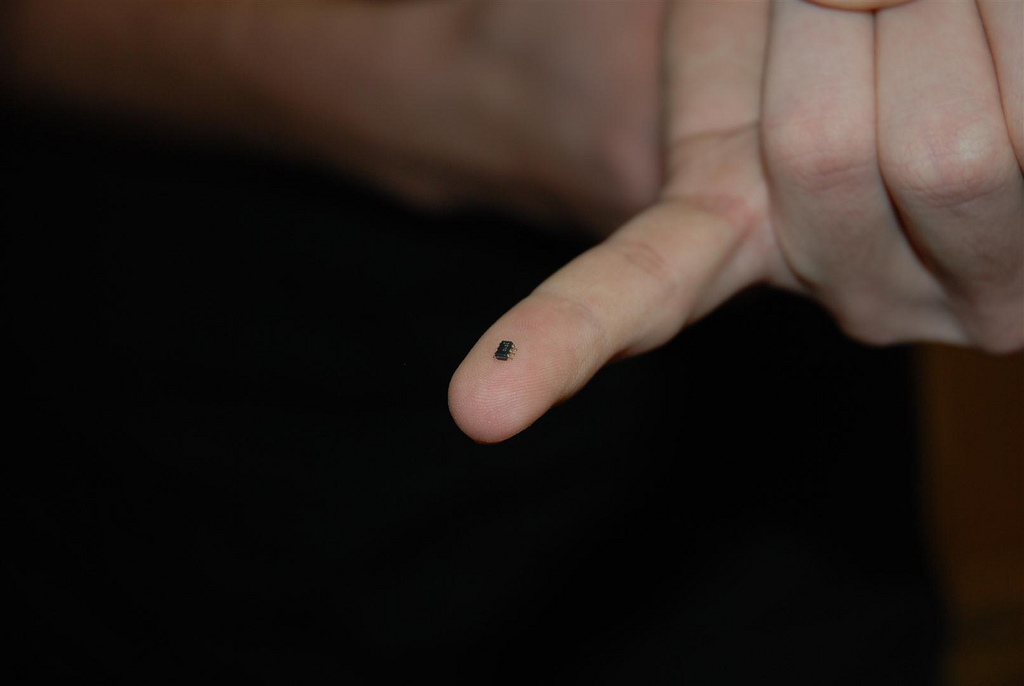
Micro Chip, Macro Worries. No, that’s not a bit of dust, it’s the capacitance sensor. Glory to the one who soldered these things by hand. It’s amazing how many orders of magnitude are between this little bugger and our giant installation, and still this tiny speck managed to cause about as much stress as the rest of the installation combined.
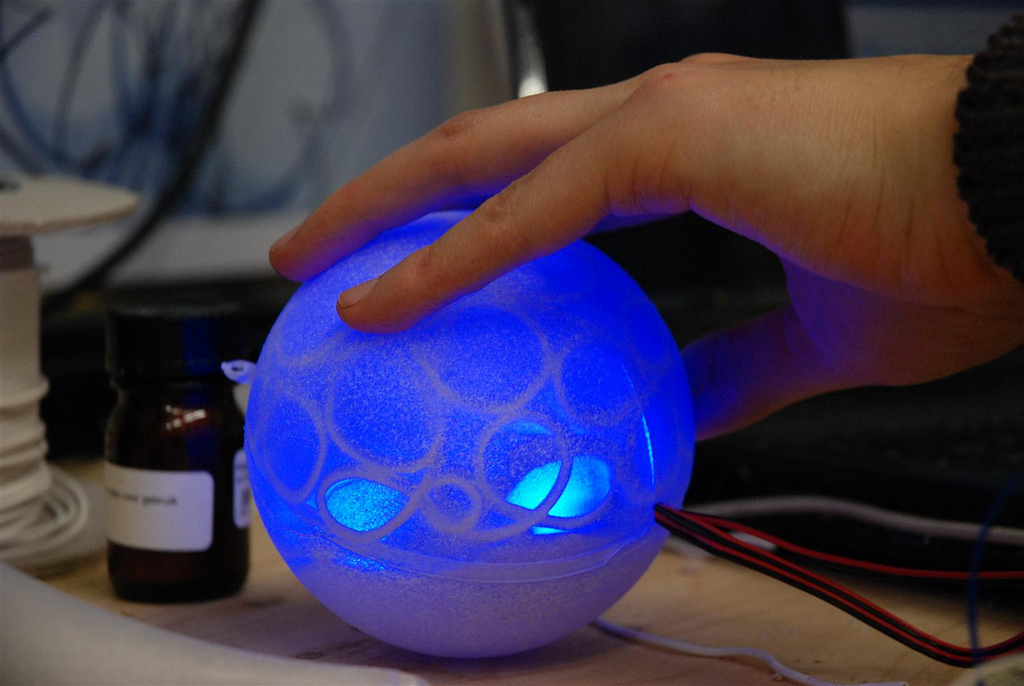
Our touch post turn blue when you touch them. This is one of the test models for our touch sensors and LEDs. Everything worked perfectly then. But when we integrated it into the whole… <i>sigh</I>. We’ve developed a true love-hate relationship with our sensors. We went through six iterations, and each generation of glowing touch pods managed to find a different way to break. The first generation wasn’t sensitive enough, so we added more sensor area (conductive wire). The second generation worked perfectly, but was made of scrap yard components. The third was fitted with the definitive sensor chip and turned out to be too sensitive, picking up a presence half a meter away. So we removed the extra mass we just added. The fourth was fitted with the correct LED’s, which apparently caused the sensor to go completely berserk. In the fifth version we were careful to give the sensor chip everything it needed for optimal performance, and still it pestered us with false highs, interference from the LEDs and low sensitivity. With the sixth version we basically gave up, accepting we could only use our LED’s at 25% or so and the sensor would always be a bit flaky. We added the sensor mass we had removed earlier to at least get the sensitivity right. And… lo and behold! It worked! Everything worked! Perfectly!
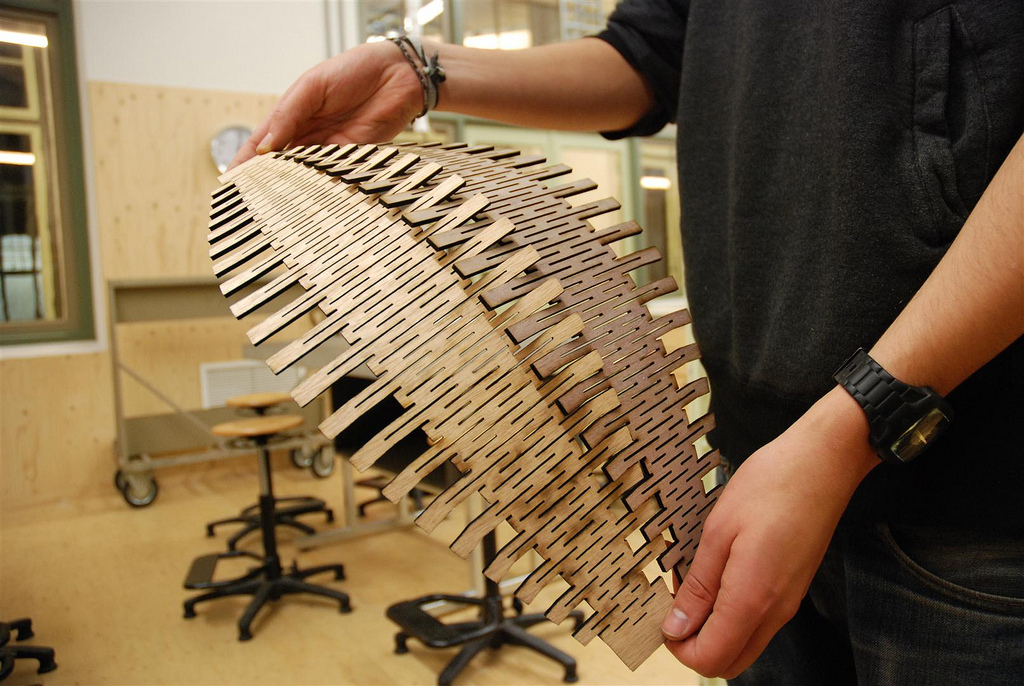
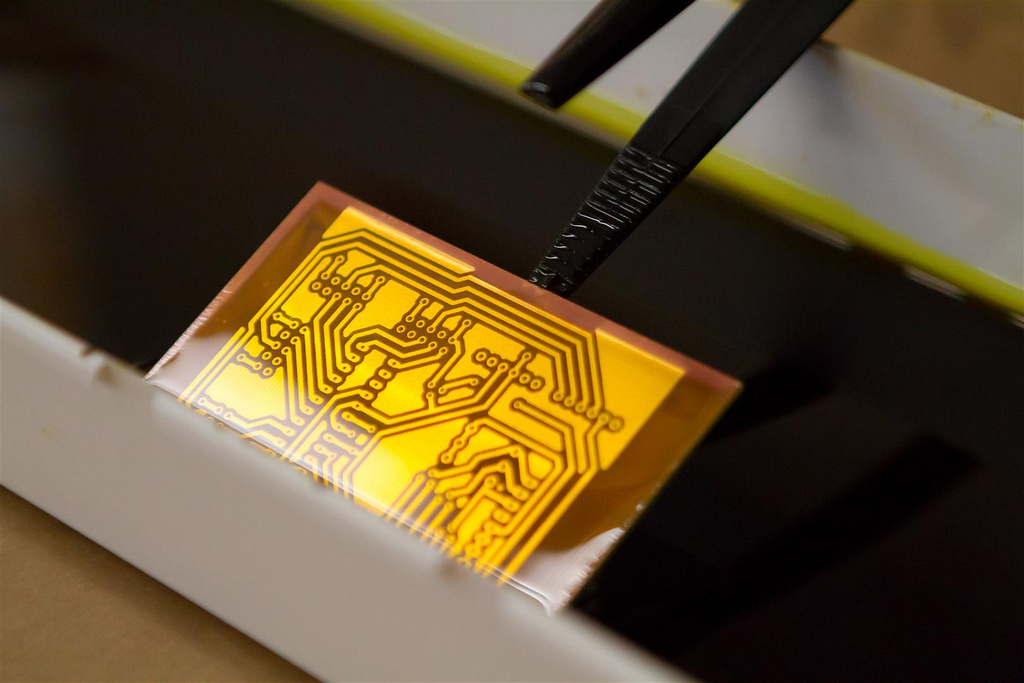
Many hours were devoted to designing and making PCBs by our engineering team. We had a total of four unique boards, one which needed 9 copies. Many prototypes were made and the technology behind KUDA is one of the most robust items of the installation. Special thanks to Jesse Hoeksema for aiding us throughout the process.
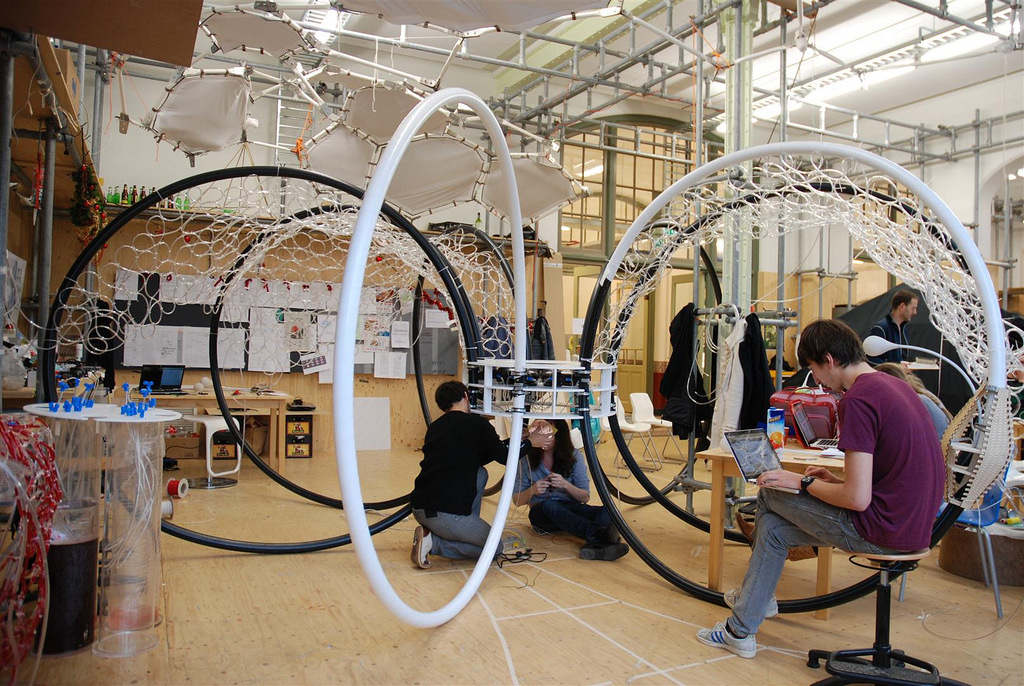
Our rings are made of pipes normally used for fluid transport or drainage. High quality stuff. Look how nice and round they are. That wouldn’t last for long though. We didn’t take into account that our plastic rings would deform not only elastically, but also ‘creep’. We’re still working on a way to keep them from sagging.
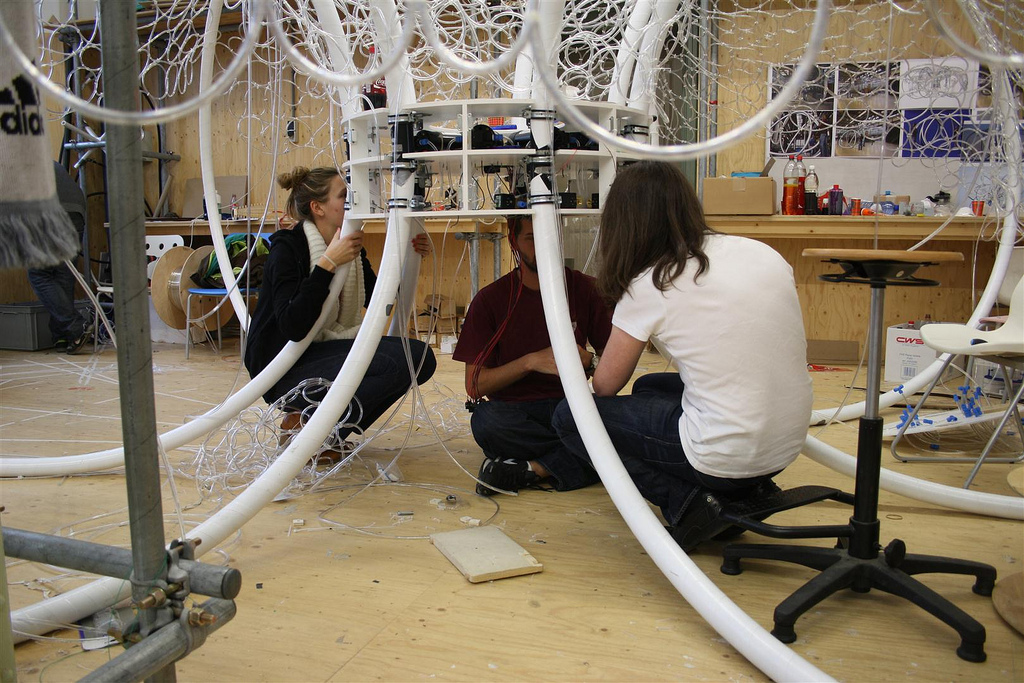
The guts of the center console are clearly visible in this picture. This construction made for the most part out of CNC milled 12mm MDF was the support structure of the installation. Almost all of the electronic guts of KUDA were housed in this unit (pumps, PCBs, solenoid valves, power supplies). Using a series of 3 x 63mm pipe clamps the PE80 rings that supported the structure were held in place. Initially the console was designed to allow easy acces from the sides to connect electronics and pumps, however, most of the work was done by crawling underneath in the end! The slot designed for housing the water reservoirs proved to be a much easier way to reach all the nessecary components.
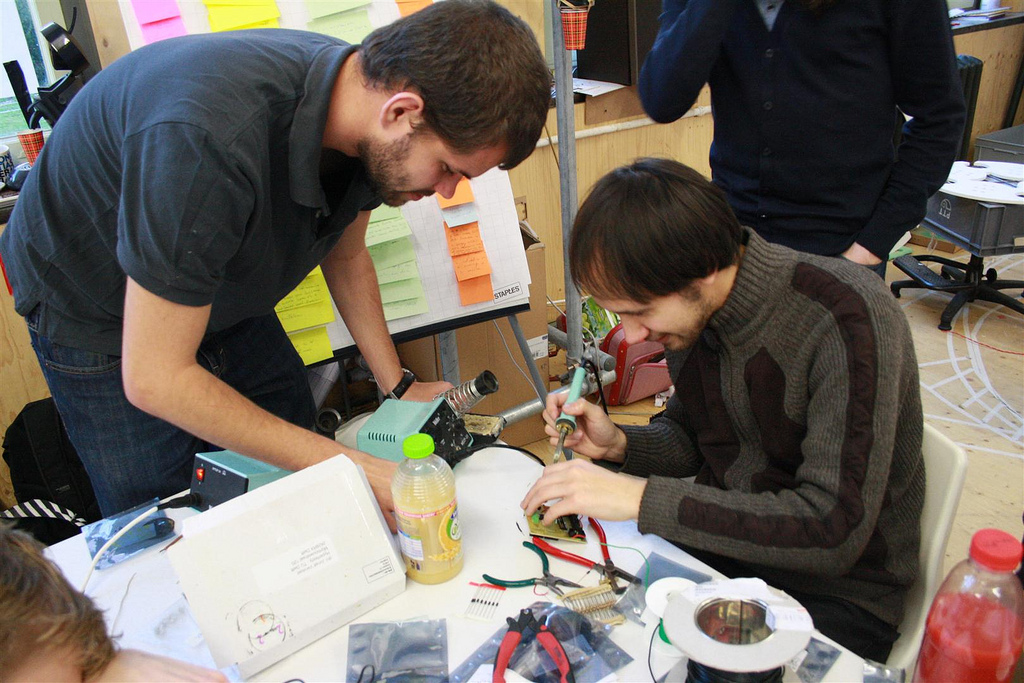
Jay Didderen and Jonalt Vervloet completing one of the final solders to go into KUDA. Everyone in the team got to experience doing things they enjoyed during the process of building KUDA as well as learning new things and talents.
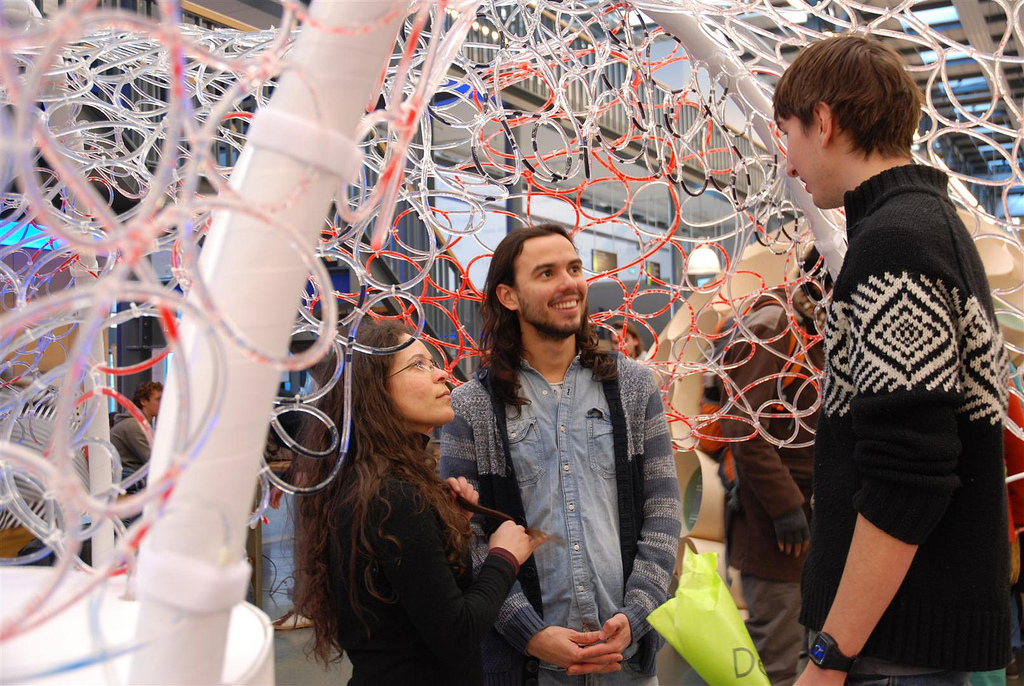
Our installation’s bringing-people-together skills in action. It works! Have you ever seen such togeterness?
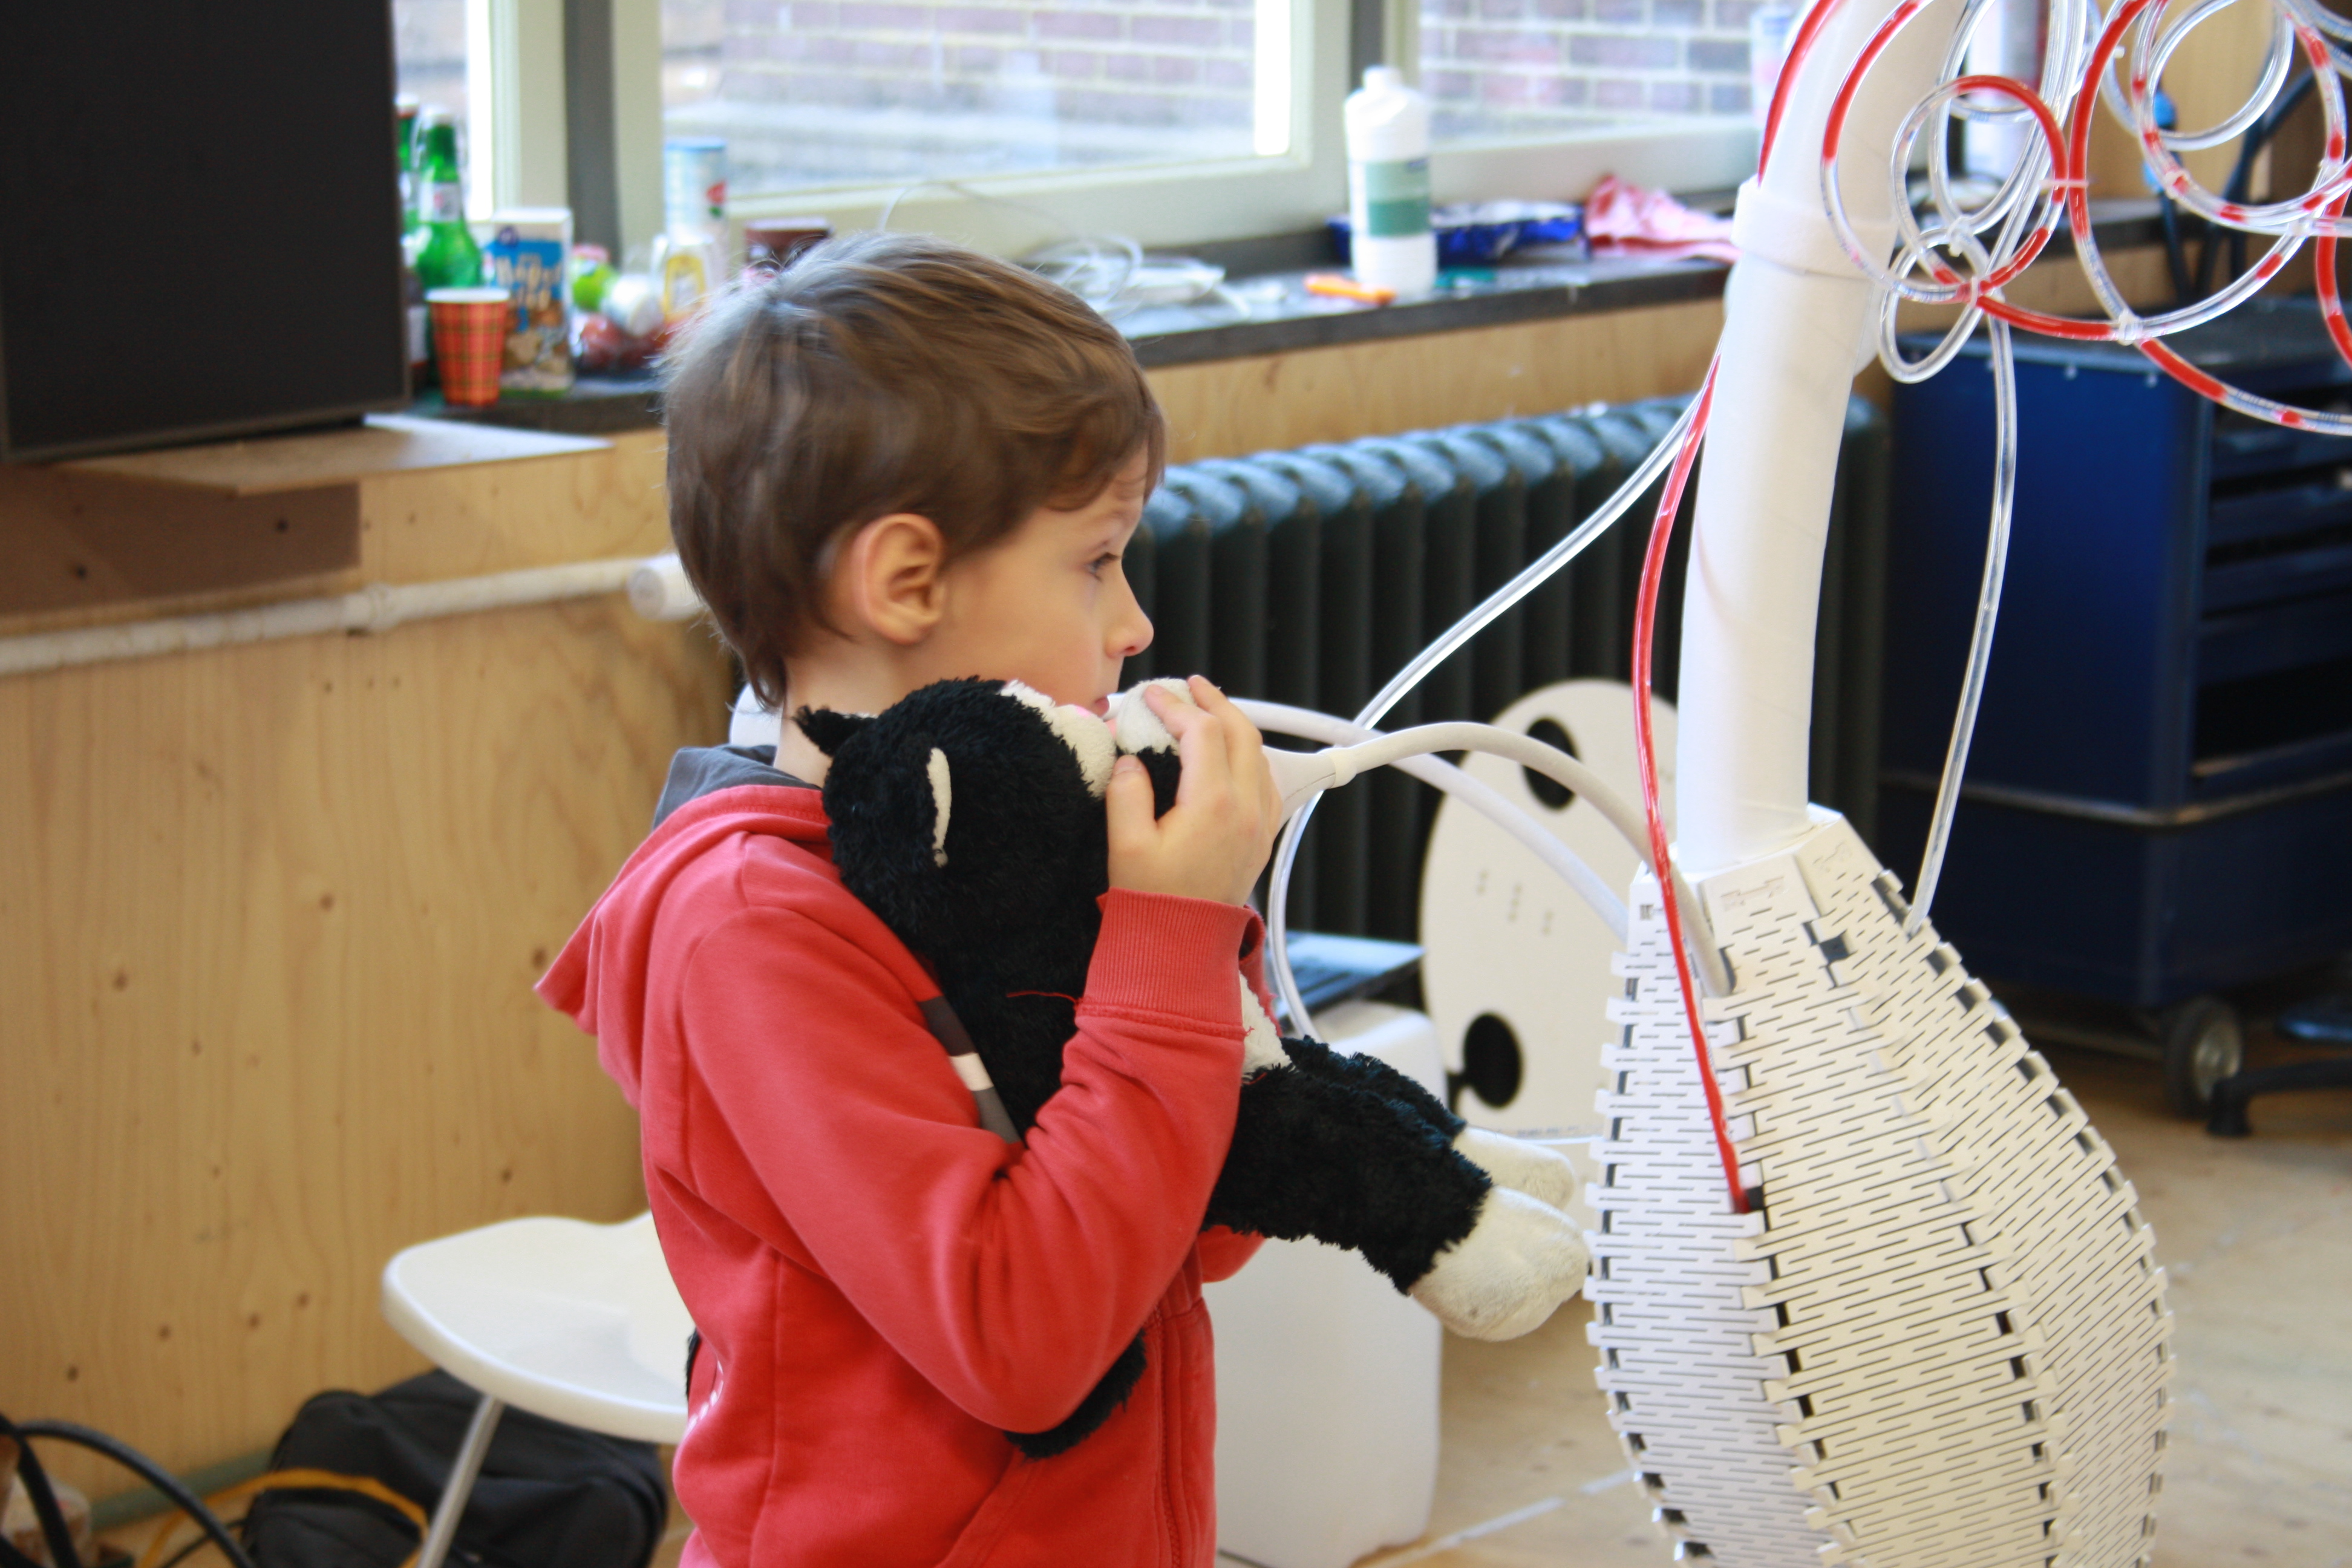
One of our first users. Being stationed in the science center on the TUdelft campus meant a lot of exposure during the building of KUDA. Parents, children and teachers alike would stroll into our building environment to take a quick peek, or to have a little chat with us about what we were building. This provided us with a lot of feedback during the process. This particular photo shows a young boy with a stuffed animal he had brought, trying out our capacitive sensors. Once he had figured out how to trigger the installation, he tried to make his stuffed animal do the same by placing its paw on the sensor!
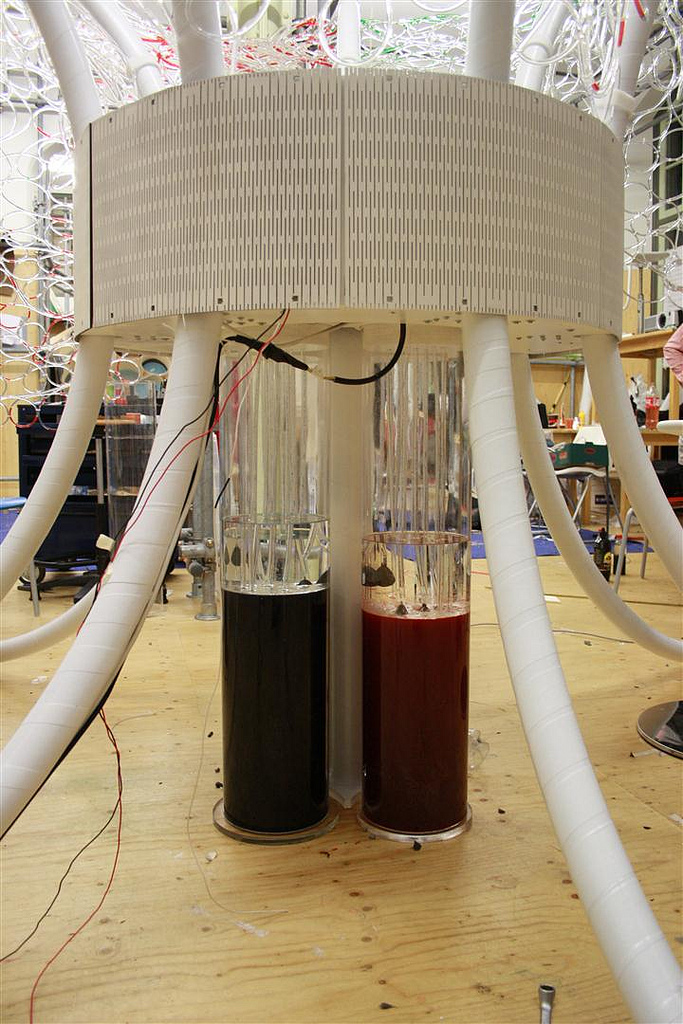
With nearly 100 litres of liquid flowing up to 10 hours a day at times it was often rare to see the tanks perfectly still and clear. With so much liquid and colors running through the entire KUDA network a total of 8 pumps were needed to get it all everywhere.
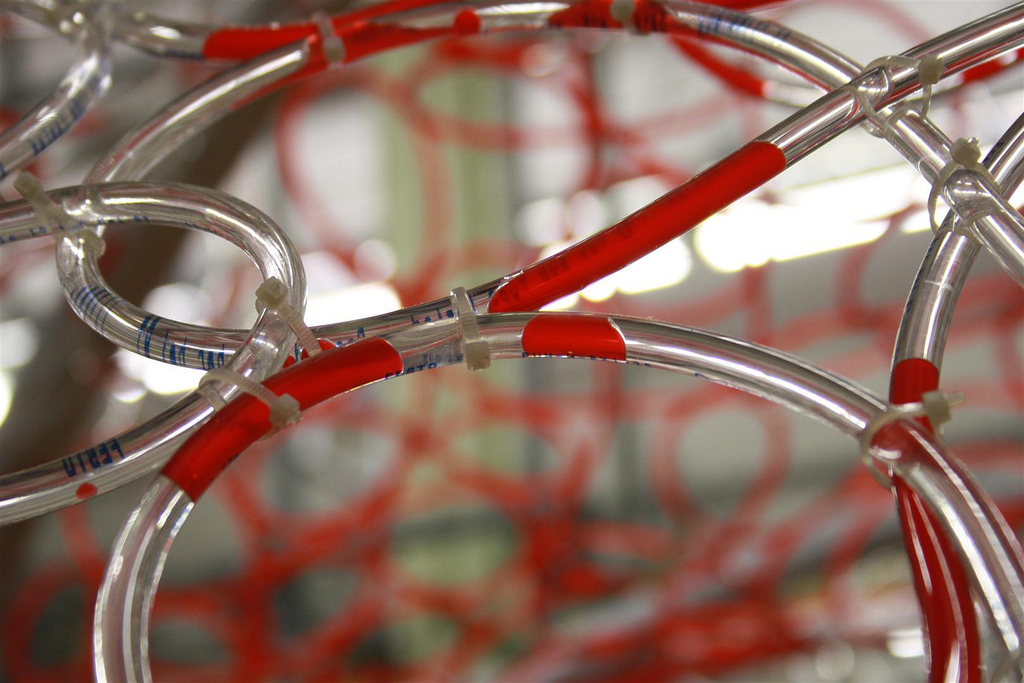
Looking closer at the nets small details like these become visible. While the original idea of the netting was to have a woven pattern, we very quickly realised this would be way too labor intensive, and costly to achieve. Instead, we opted for a totally different approach. Using a gigantic pile of 7800 tie-wraps, generously supplied to us by our sponsors, we made a pattern of interconnected loops which ultimately formed a net which could be suspended using velcro straps. All 7800 tie-wraps were fastened by hand following a pattern we layed out on the floor, leaving us all with sore hands, backs and knees!
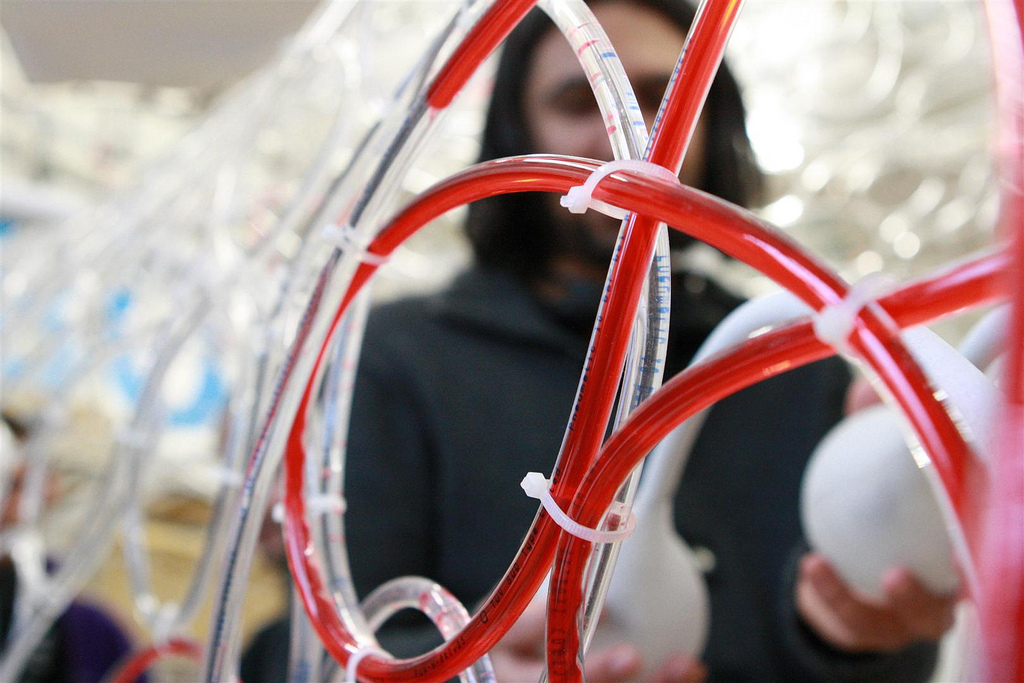
When the sensor nodes are touched, fluids will directly start flowing from the cocoon. There are three different stations and each has its own colour. When different nodes are triggered the three colours will flow towards each other and then vanish into the reservoirs. Different patterns can be made with the coloured water and clear oil combination, making it a unique experience every time you interact.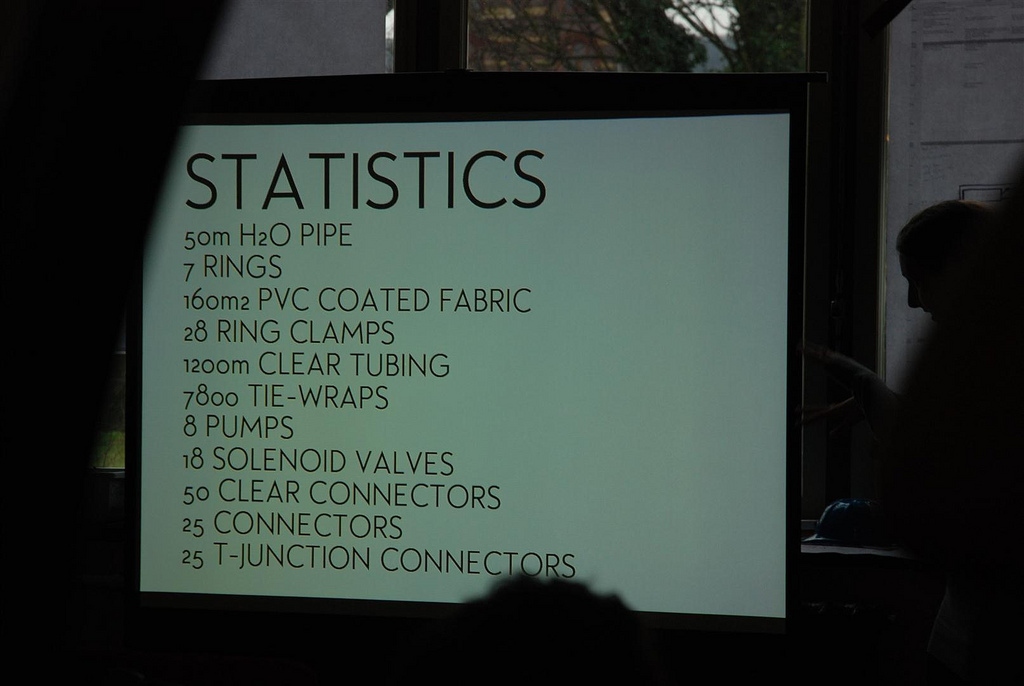
It may seem like a lot, but when you’re actually working with it… actually, this is a pretty good reflection of the scale of our project. We got to use units of measurement we never got to use before. Bushels of tie-wraps, furlongs of tubing.
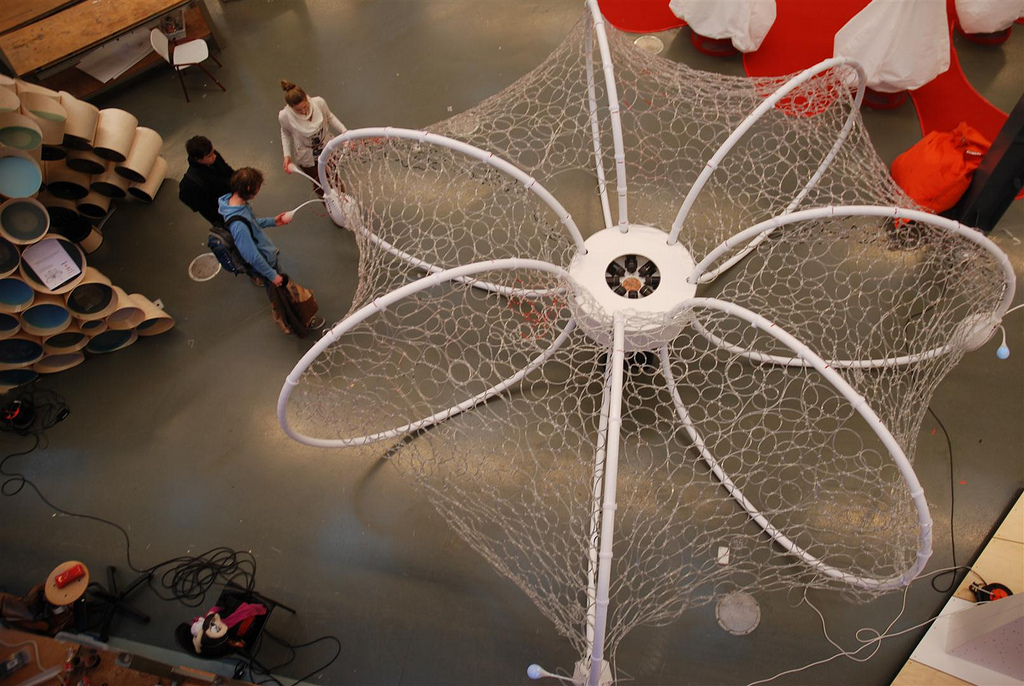
A top view from our installation during its display at the IDE faculty.<br>It looks great from any angle, but from away farther of you can appreciate the form as a whole. But please, do come closer.
