Lumo

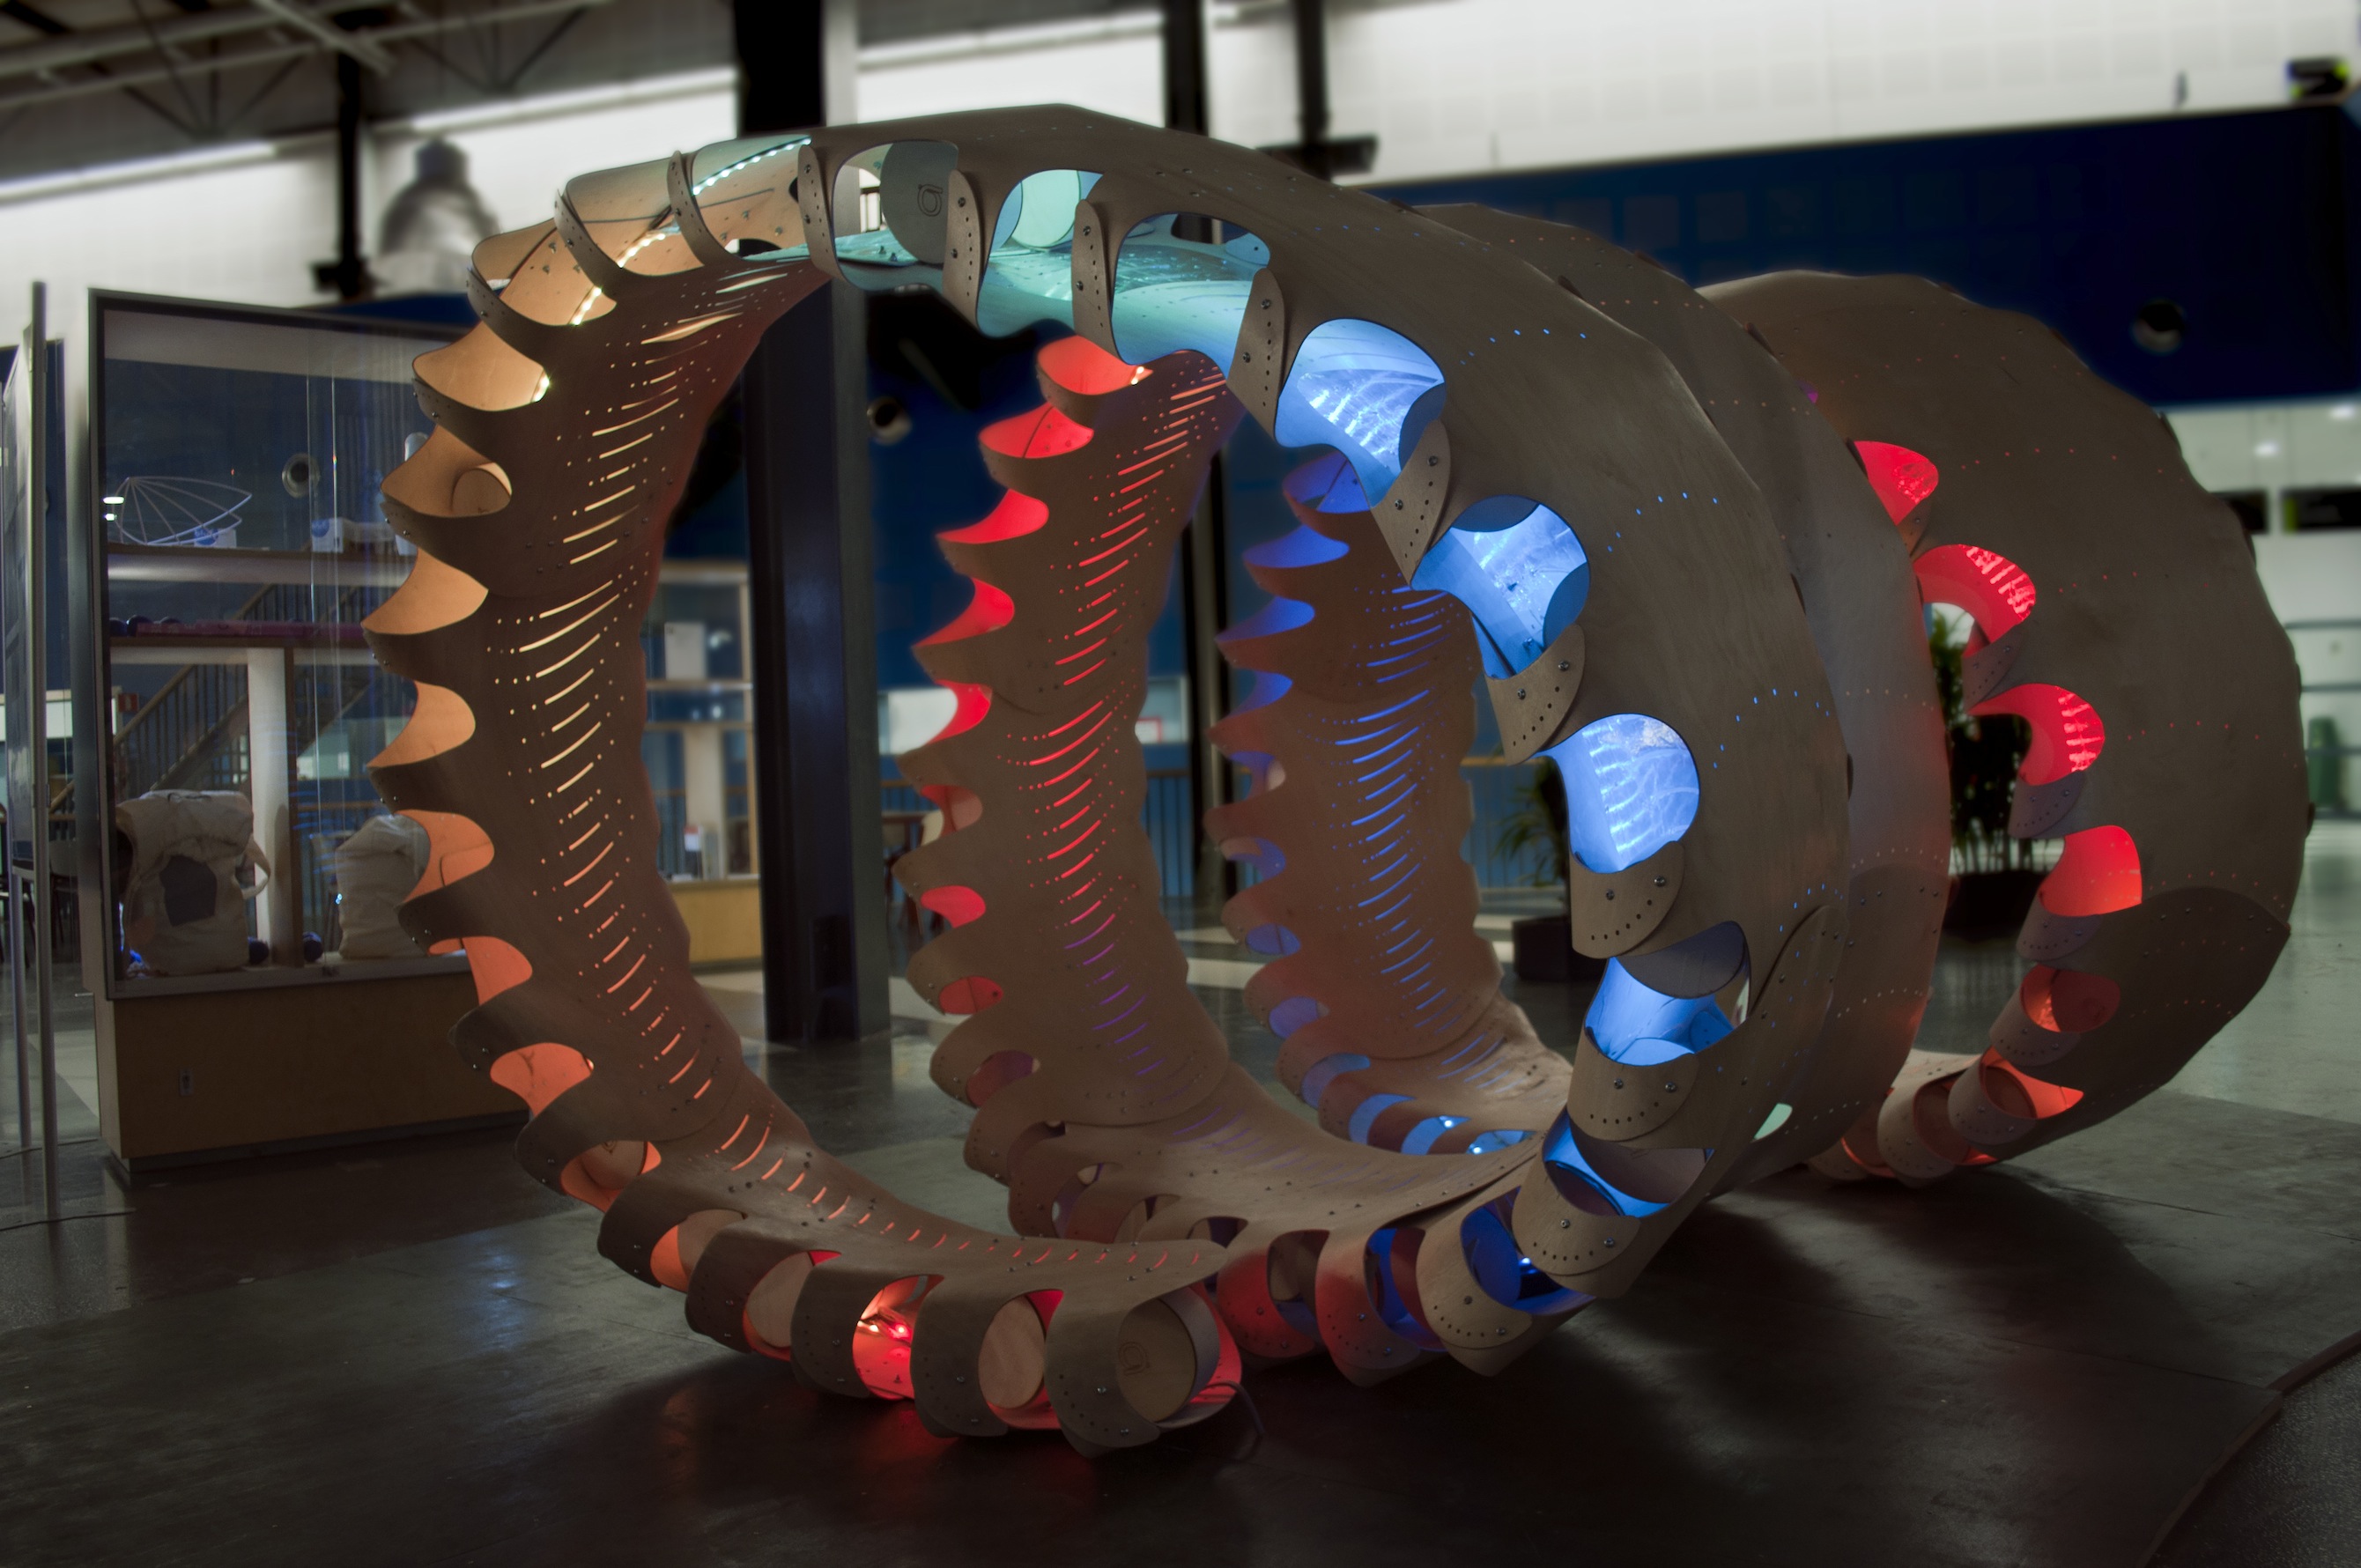
Lumo is a project within the minor program interactive enviroments of the TU Delft. During this minor we have designed an interactive hang-out for children of the future Prinses Maxima centrum voor kinderoncologie. The goal of this hang-out was to stimulate social development of teenagers of the age of 12 to 14. To explain more about Lumo 20 pictures were selected to illustrate every important aspect.

Slumber Behaviour: When Lumo isn’t being touched it listens to its surroundings. This is it’s slumber behavior. When Lumo receives audio input during it’s slumber, it responds with light, the brightness of the lights is linked to the volume of the audio.

Awake behaviour: When a user touches a module, Lumo will wake up. Only the touched module will light up and respond to audio input. The colour of the panel changes every minute, there are 7 colours within the total spectrum that shifts through lumo.

Light Pulse: When a module is being touched and audio input is received the accompanied modules will send out light pulses in the colour of the activated module. The light pusles will flow through the rest of the installation.

Connection: When two separated modules are being touched a subtle light connection is created between them. This way the teenagers become visually connected when interacting with the installation. When a module is touched it also functions as a dam to stop the light pulses, and the pulses wills tack on top of the connection light. Once the module is deactivated the pulses will continue their natural flwo.

Hang-out: The geometric shape of Lumo offers the teenagers a place to sit down and relax in. whilest hanging out they are also interaction with the installation.

Arcyl filler- The digital intelligent LED will light up a translucent surface made of acryl to increase light effects.

LED – Digital intelligent LEDs were used to create the light effects within Lumo. We choose for intelligent LED strips because you can program the individual LEDs.

Electronic Box – All the electronic components come together in one little box. A PCB was printed to make the electronic circuits for the sensors. The microphone to detect audio is also included in the box.

Touch – To register the touch, we used aluminium tape to make a capacitive touch sensor.

Heat-shrink tubing – To hide the electronic wires and to secure to LED strip, translucent heat-shrink tubing was used. The heat-shrink tubing was first filled with all the electronics and then heated resulting in a slim package of electronics.

Laser – To fabricate the acryl fillings, logo engraving and business cards, a laser cutter was used. By emitting a high intensity laser beam the material is burned locally to make high detail possible.

CNC milling machine – To create the wooden panels for the modules a CNC milling machine was used.

Sanding – To give the panels a nice finish and for the varnish to attach we sanded the panels with the use of sanding machines.

Curve – To create the spiral shape we wanted the plywood needed to bend. So we soaked the whole modules before we bended them.

Steamer – To get the arms of Lumo in the right form a wallpaper steamer was used. For some extra flexibility. When the plywood is steamed it becomes flexible and the arms can be set in the right position. When dried the structure becomes rigid and retains the form you want it to have.

Wobbel and Circles – In one of our many iterations of the plywood modules we implemented wooden wobbles to make our structure stiff enough. We also used these to make our modules curve in the right way. We didn’t use the wobbles in our final presentation. So we changed them to circles.

Ground plate – We made the ground plate to secure the Lumo from rolling away aswel as an indication that more spirals could be added.

Rhino & Grasshopper – Lumo was parametrically designed in grasshopper and extension of Rhino. Grasshopper gives a lot of possibilities for designing in a parametric way.

Arduino & Arduino code – To make the lights react on audio and touch input software had to be written for the Arduino. Arduinos are tiny electronic circuit boards equiped with microcontrollers, and they can be programmed using the programming language C++.

This was a Minor Interactive Environments 2012-2013 from TU-Deflt project.
With the support and great help of:
Hyperbody
ID-StudioLab
Instructors: Chris Kievid, Aadjan van der Helm, Walter Aprile, Dieter Vandoren
Students: Pieter ter Berg, Jens de Groot, Joost Verdoorn, Max van Leygraaf, Andreas Root, Enzo Yap, Martijn Weber, Bas ter Haar Romenij, Indy van der Heijden and Martijn Kerklaan
Sponsored by:
Baars & Bloemhoff
Totallux
Peco Select
Controllux
Ijzerwaar
Qabana
Ma Plume
Mixd
4U-Tech